
Tips & Tricks for Sewing Leather
By Ann Butler Designs
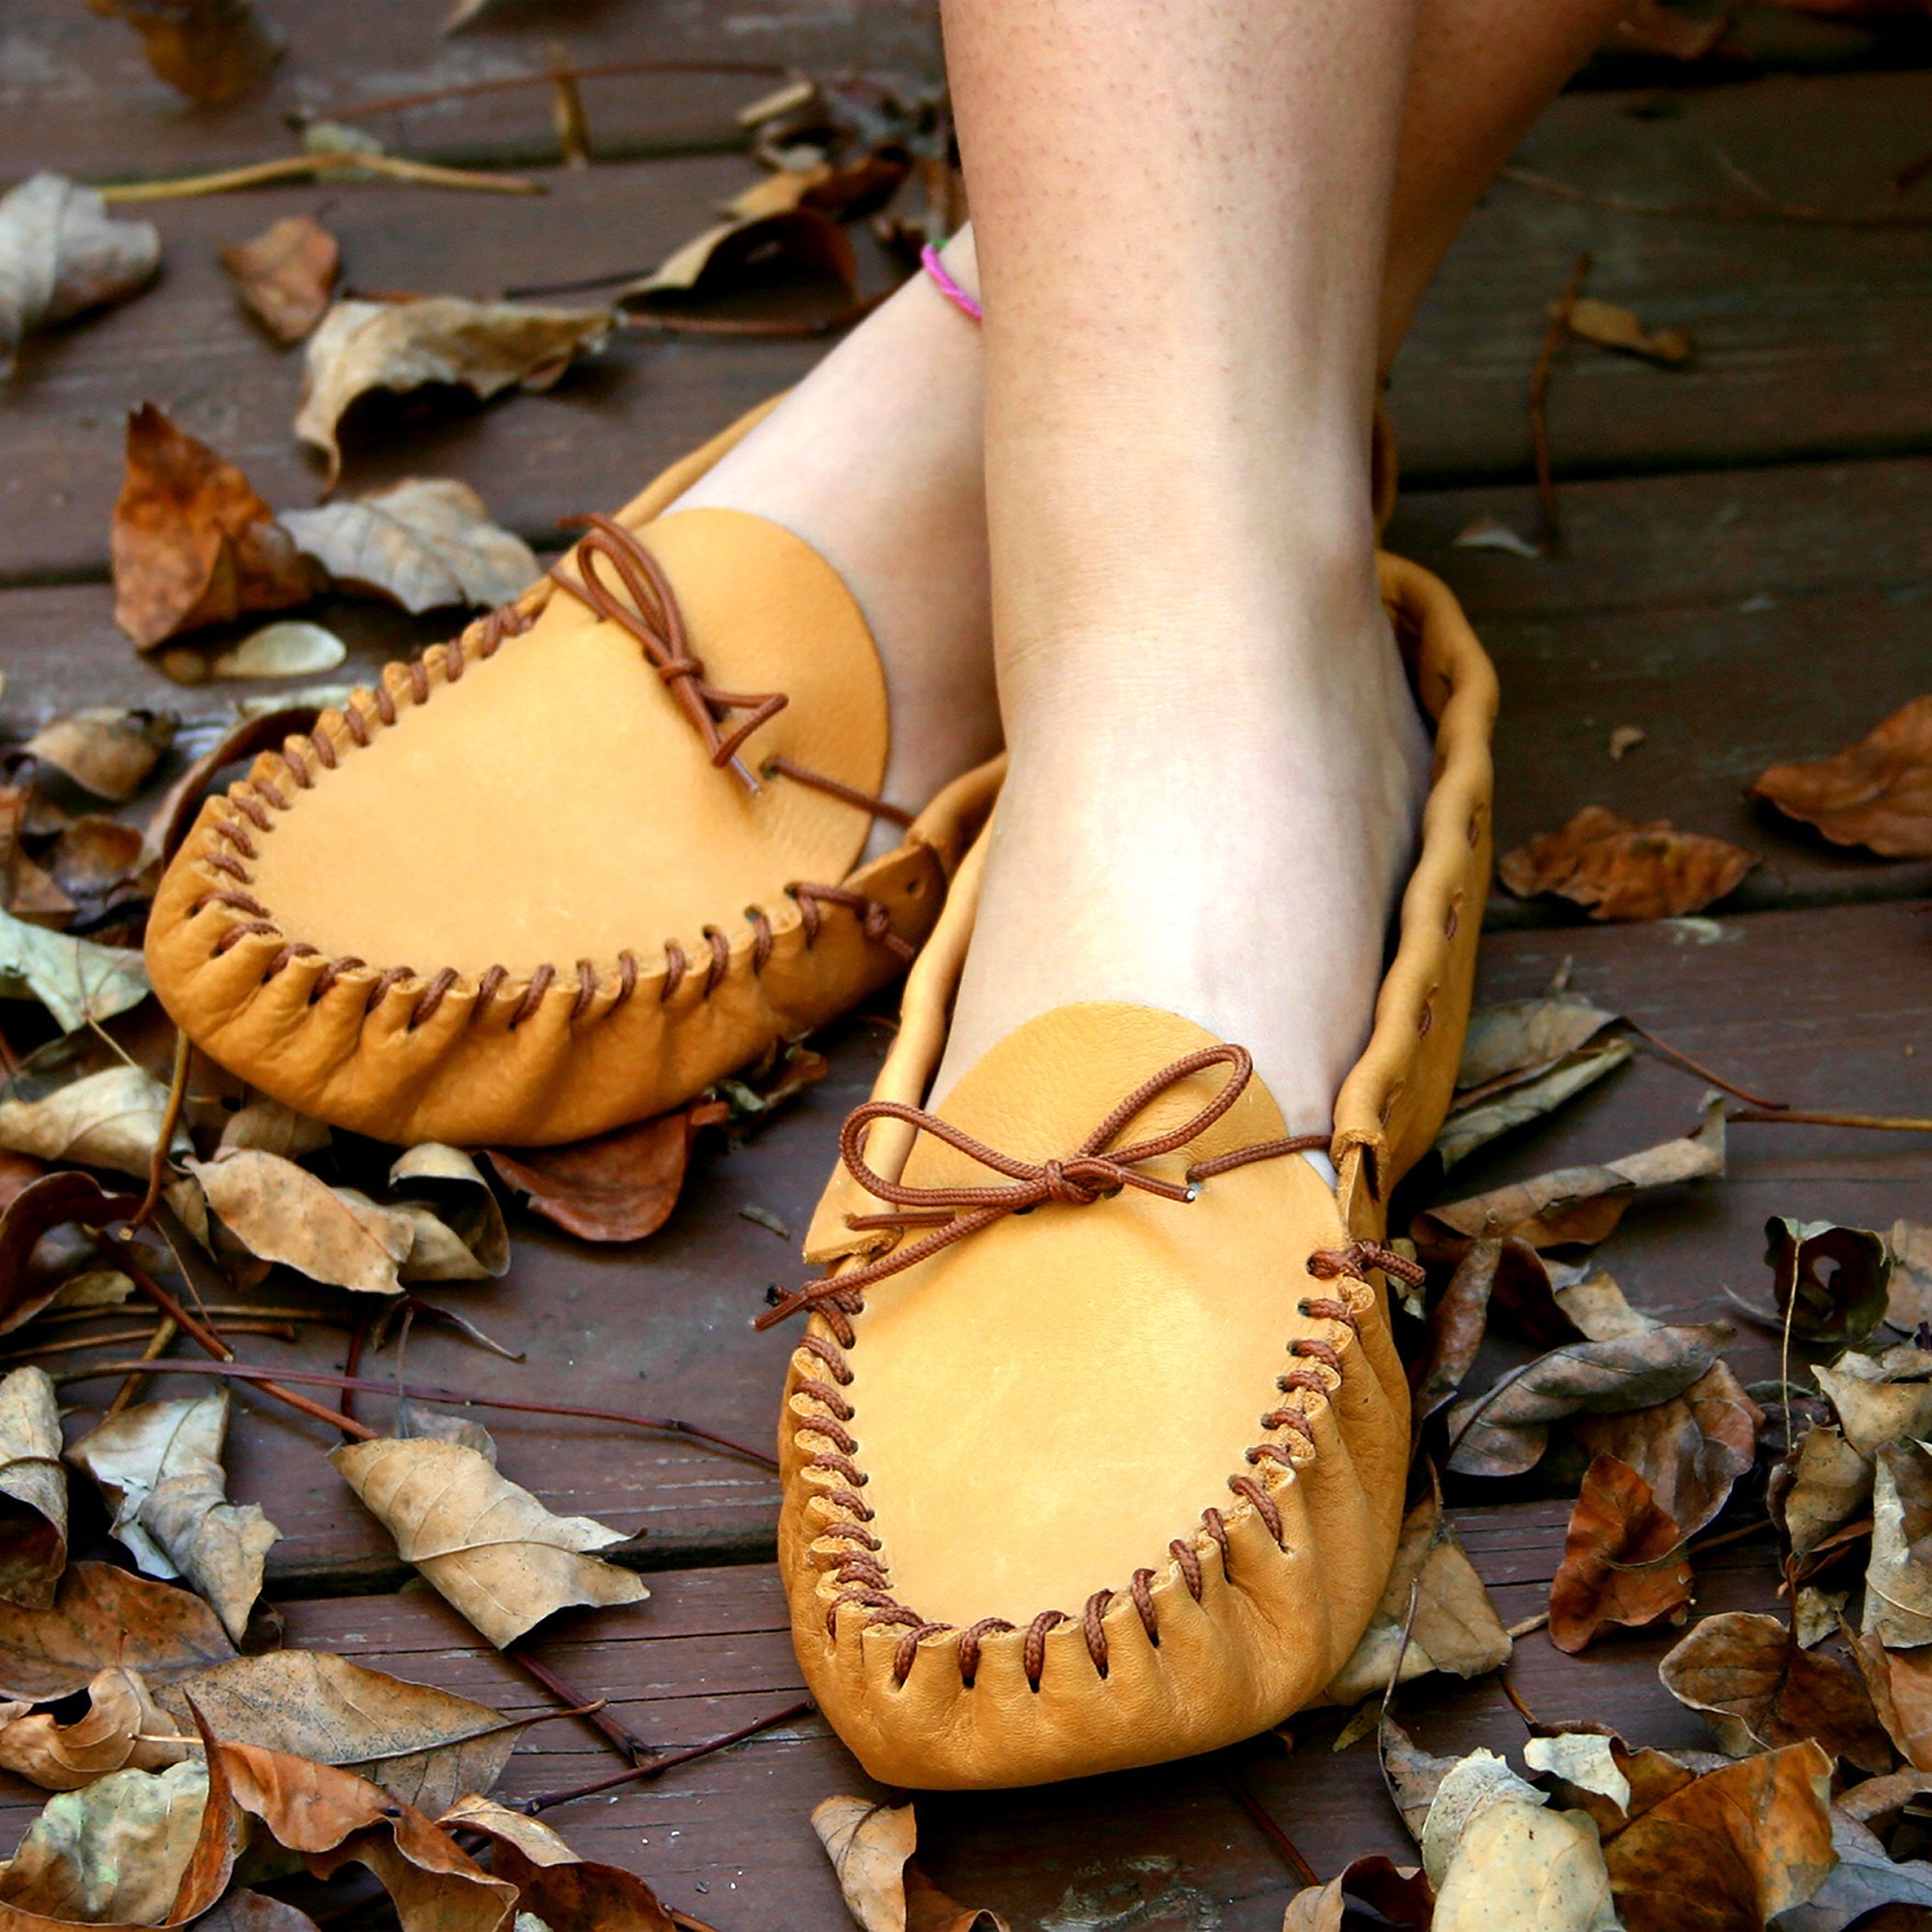
Sewing on leather is a wonderfully rewarding experience—but it does come with its own set of challenges. Whether you're crafting accessories, home décor, or garments, working with leather requires the right tools, techniques, and a little extra patience. These helpful tips and tricks will guide you through the process and set you up for success. So grab your supplies, enjoy the journey, and learn along the way!

Essential Tools for Sewing Leather
Before you start, make sure you're equipped with the right tools. Leather behaves differently than fabric, so using the appropriate equipment can make all the difference.
-
Needles: Always use a leather or sharp needle in your sewing machine. These are specifically designed to pierce leather without tearing it. If those aren’t available, a denim needle can be a good substitute.
-
Thread: Choose a strong, heavy-duty thread like bonded nylon or polyester. These can handle the tension and wear that leather demands.
-
Presser Foot: A Teflon foot, roller foot, or walking foot will help feed the leather smoothly through your machine without sticking or dragging.
-
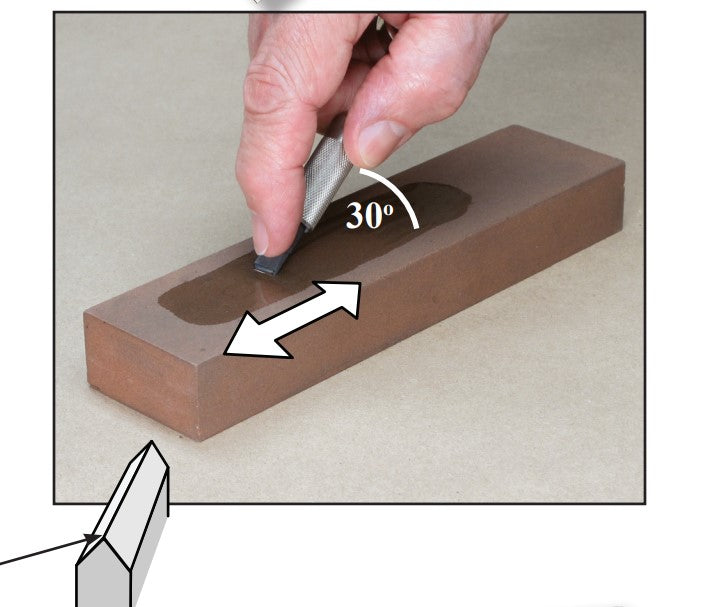
Cutting Tools: Use a rotary cutter, utility knife, or sharp scissors meant specifically for leather. Dull blades can tear and damage your material.
-
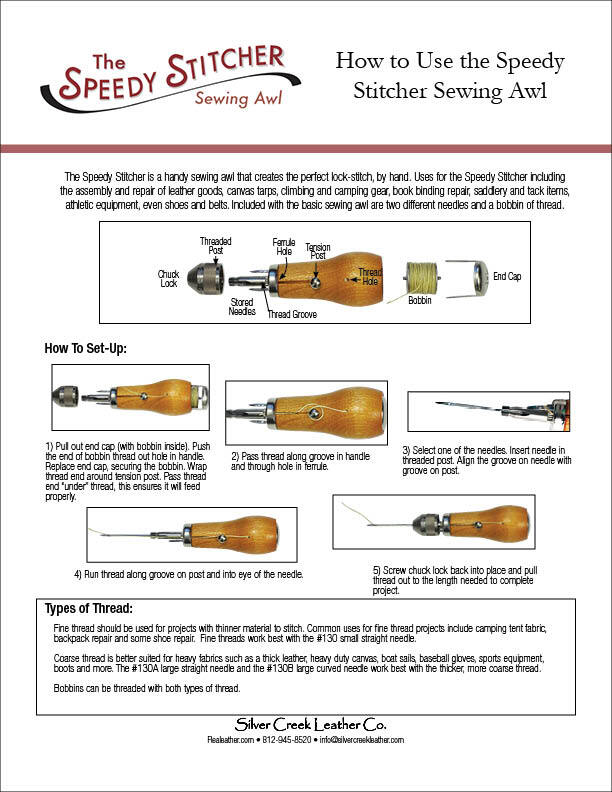
Leather Punch: A must-have for making holes for rivets, grommets, or hand-sewing details.
Preparing the Leather
Taking the time to prep your leather before sewing can greatly improve your results.
-
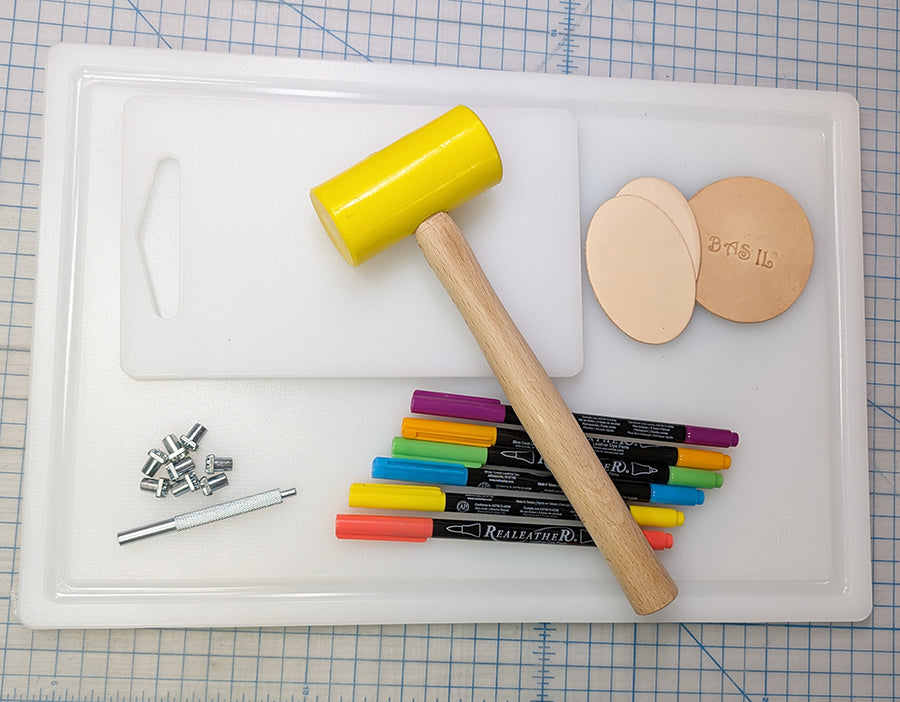
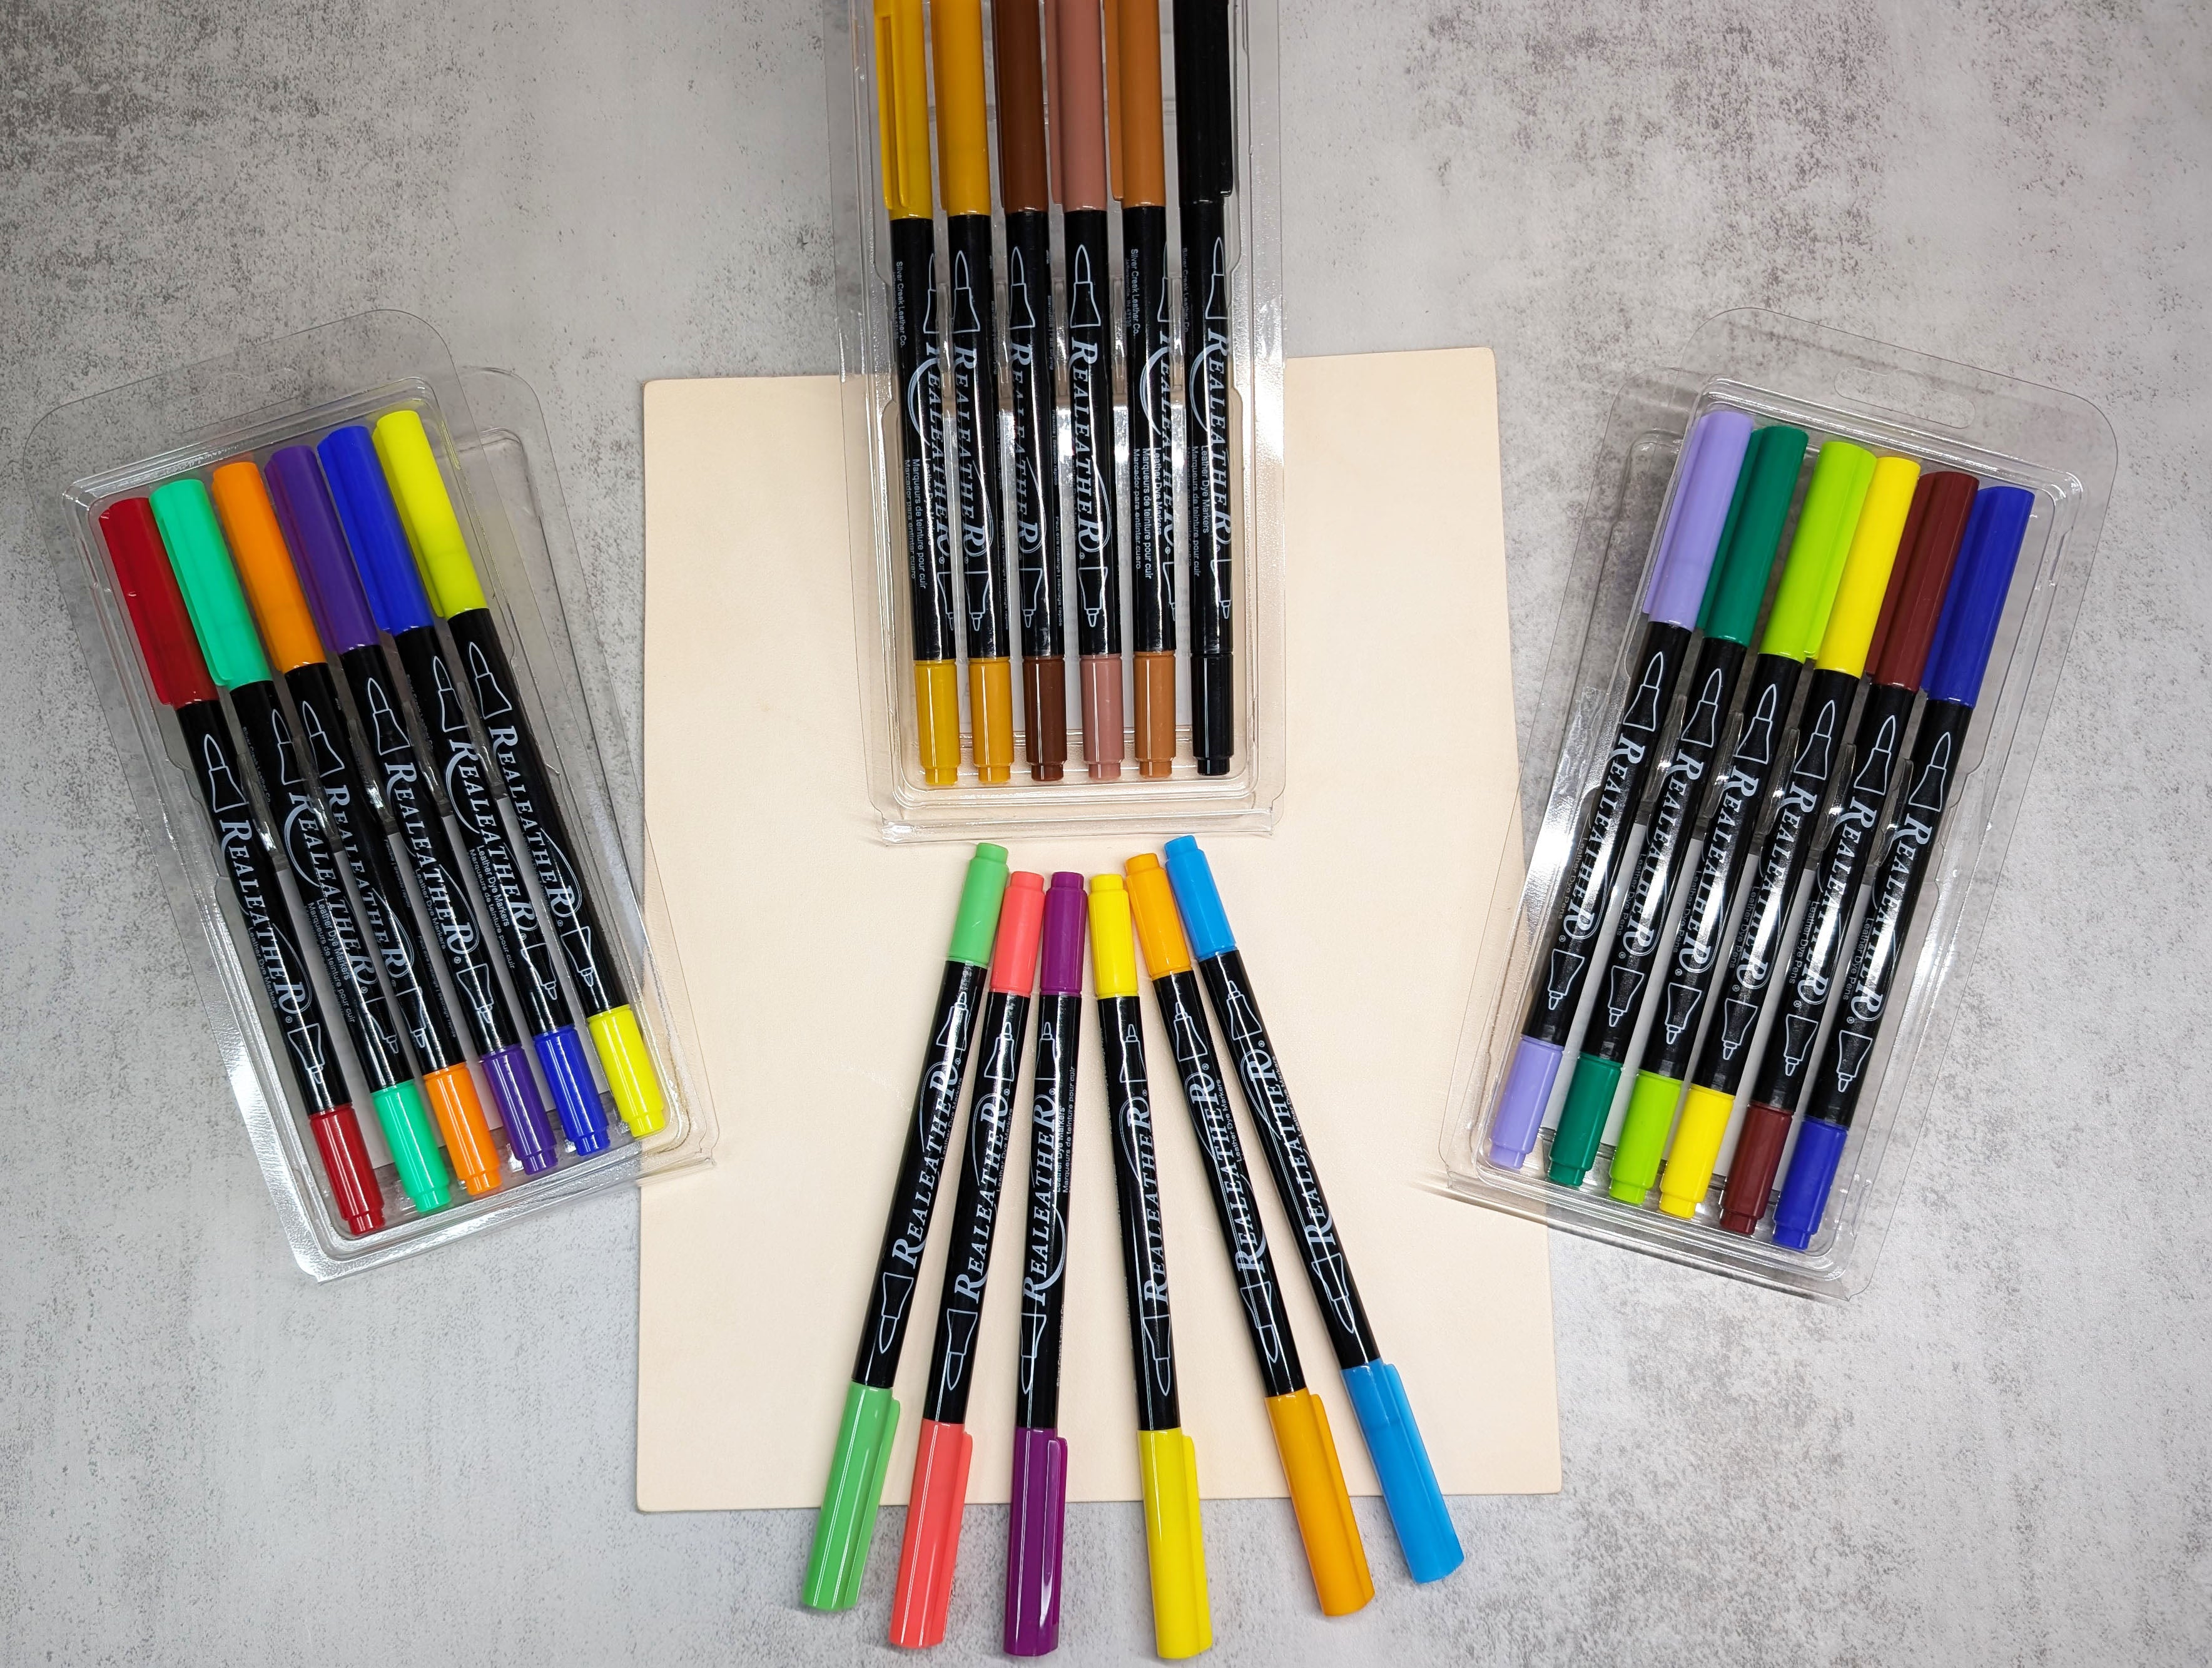
Mark Carefully: Only mark on the wrong side using a dye marker, chalk, or an awl. Regular markers may leave permanent, unwanted marks.
-
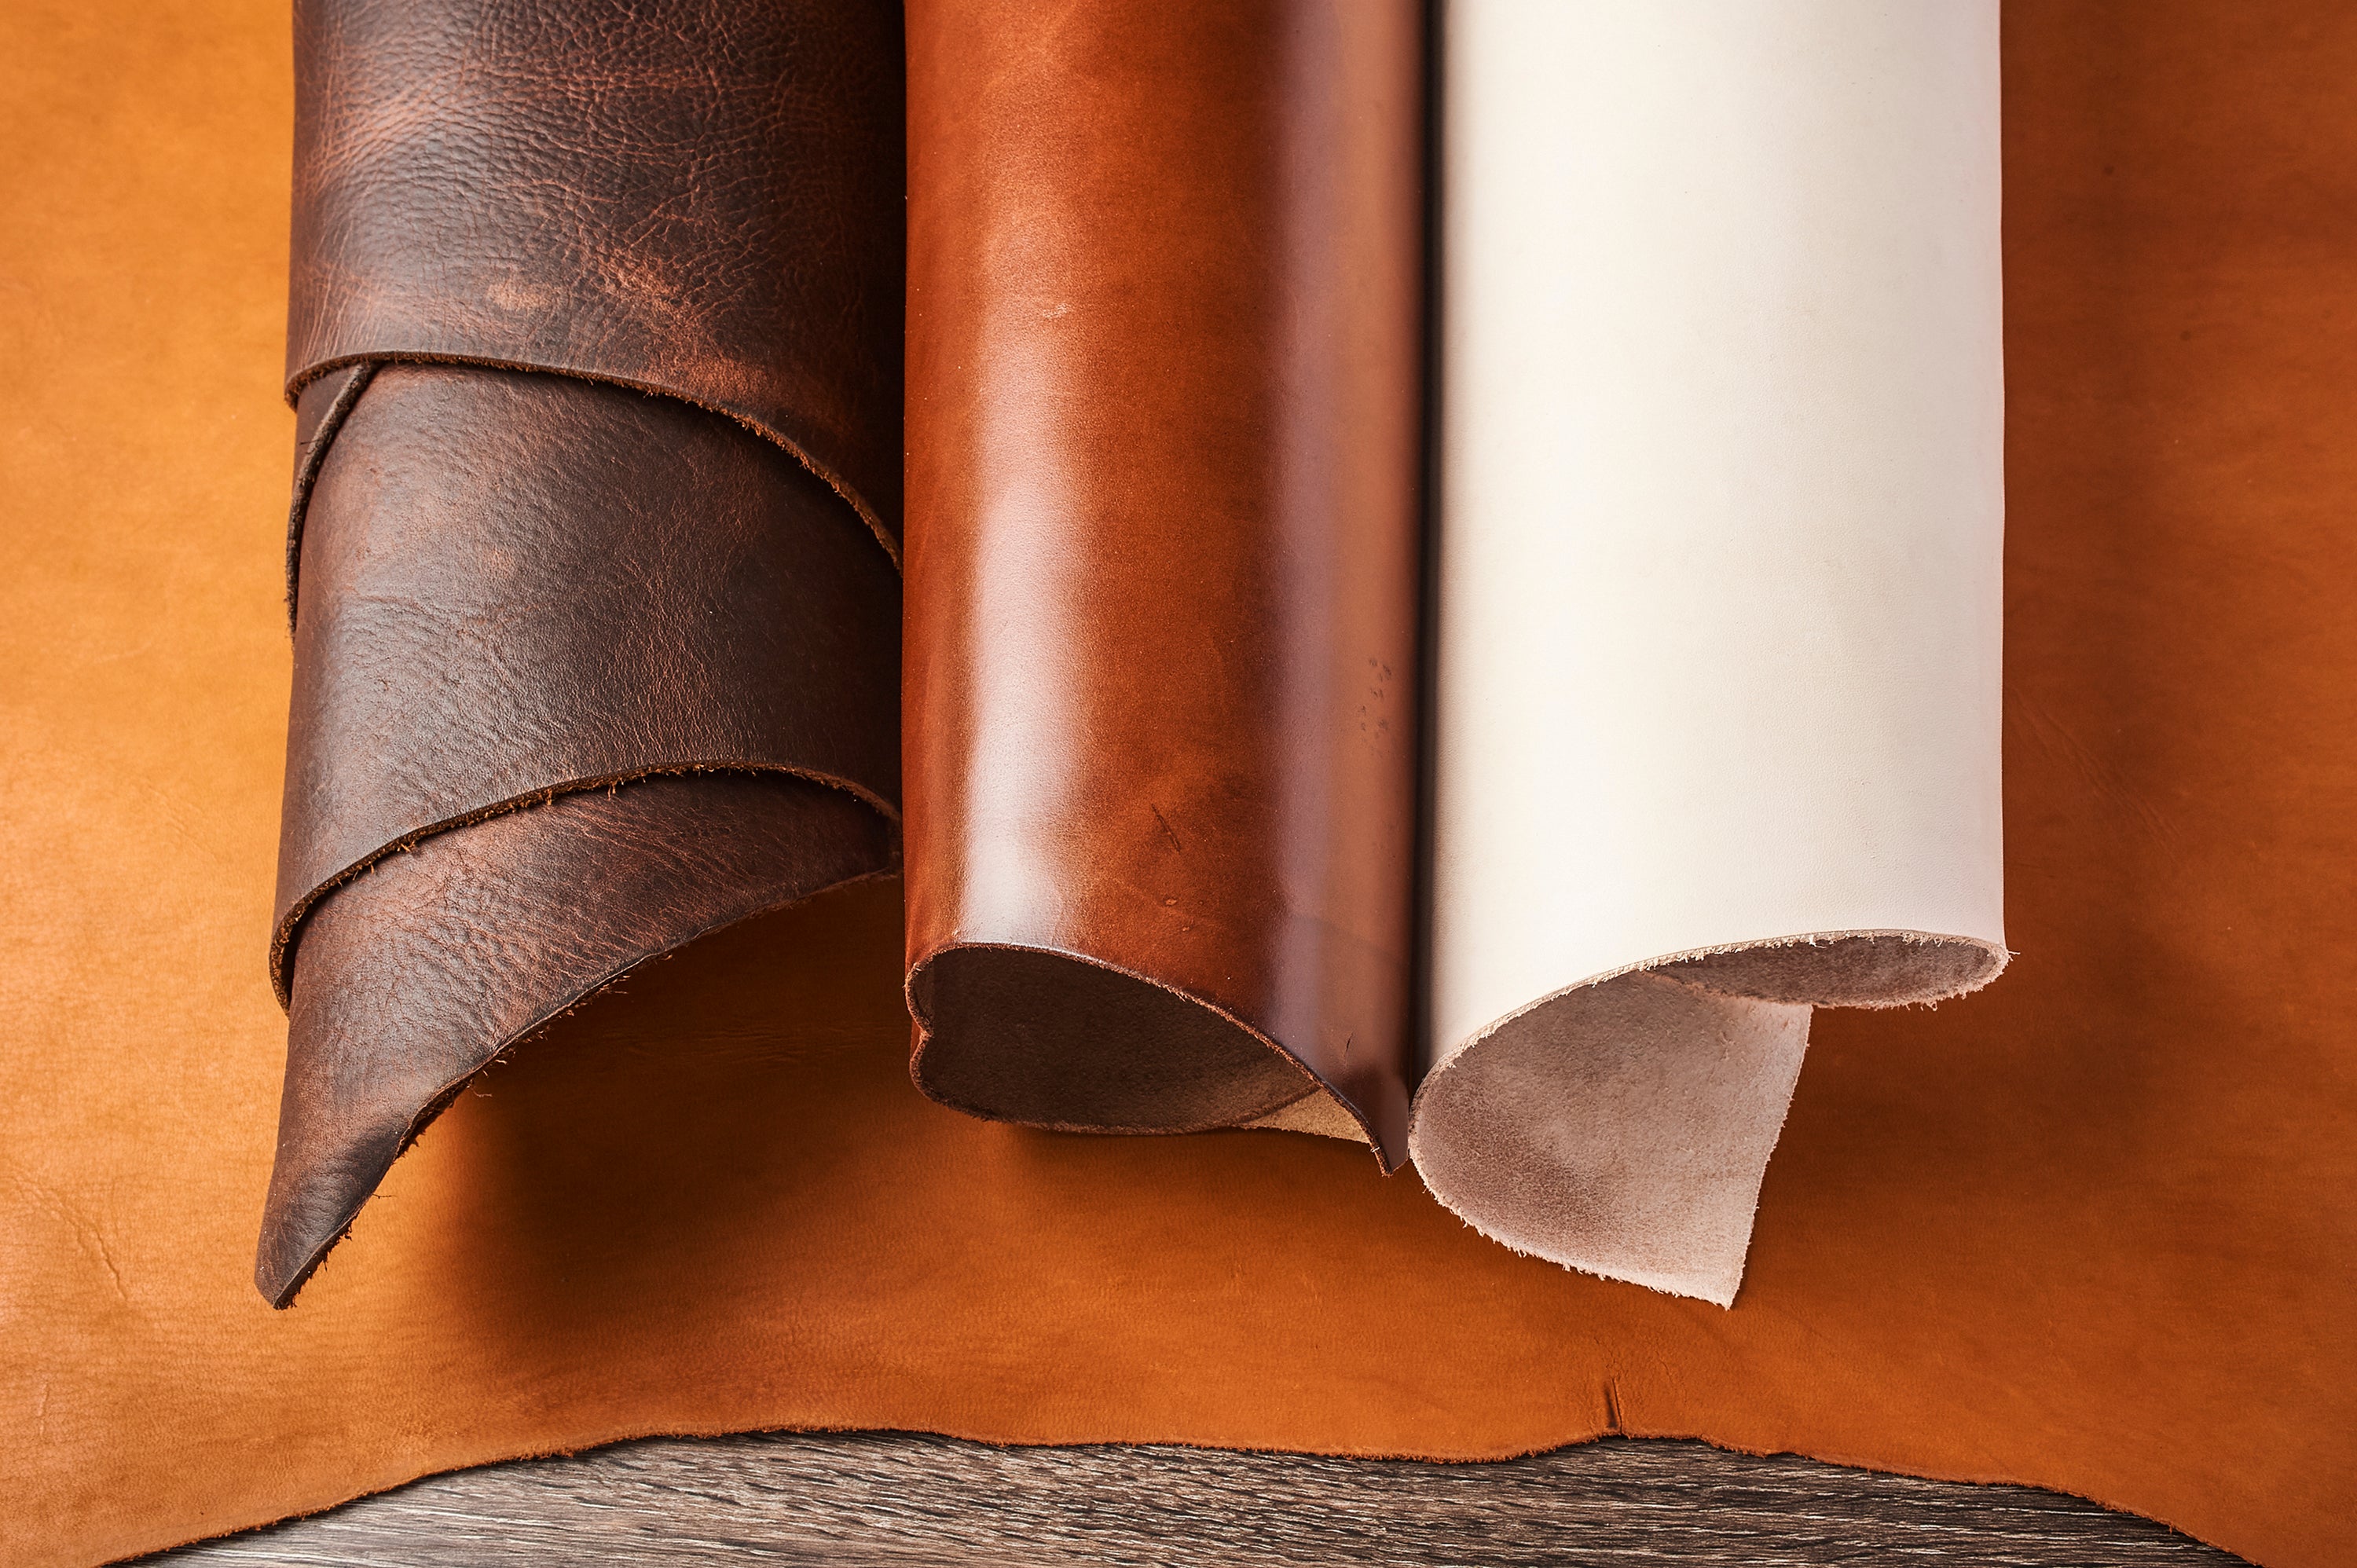
Condition the Leather: If your leather feels stiff, apply a leather conditioner to make it more pliable and easier to work with.
-
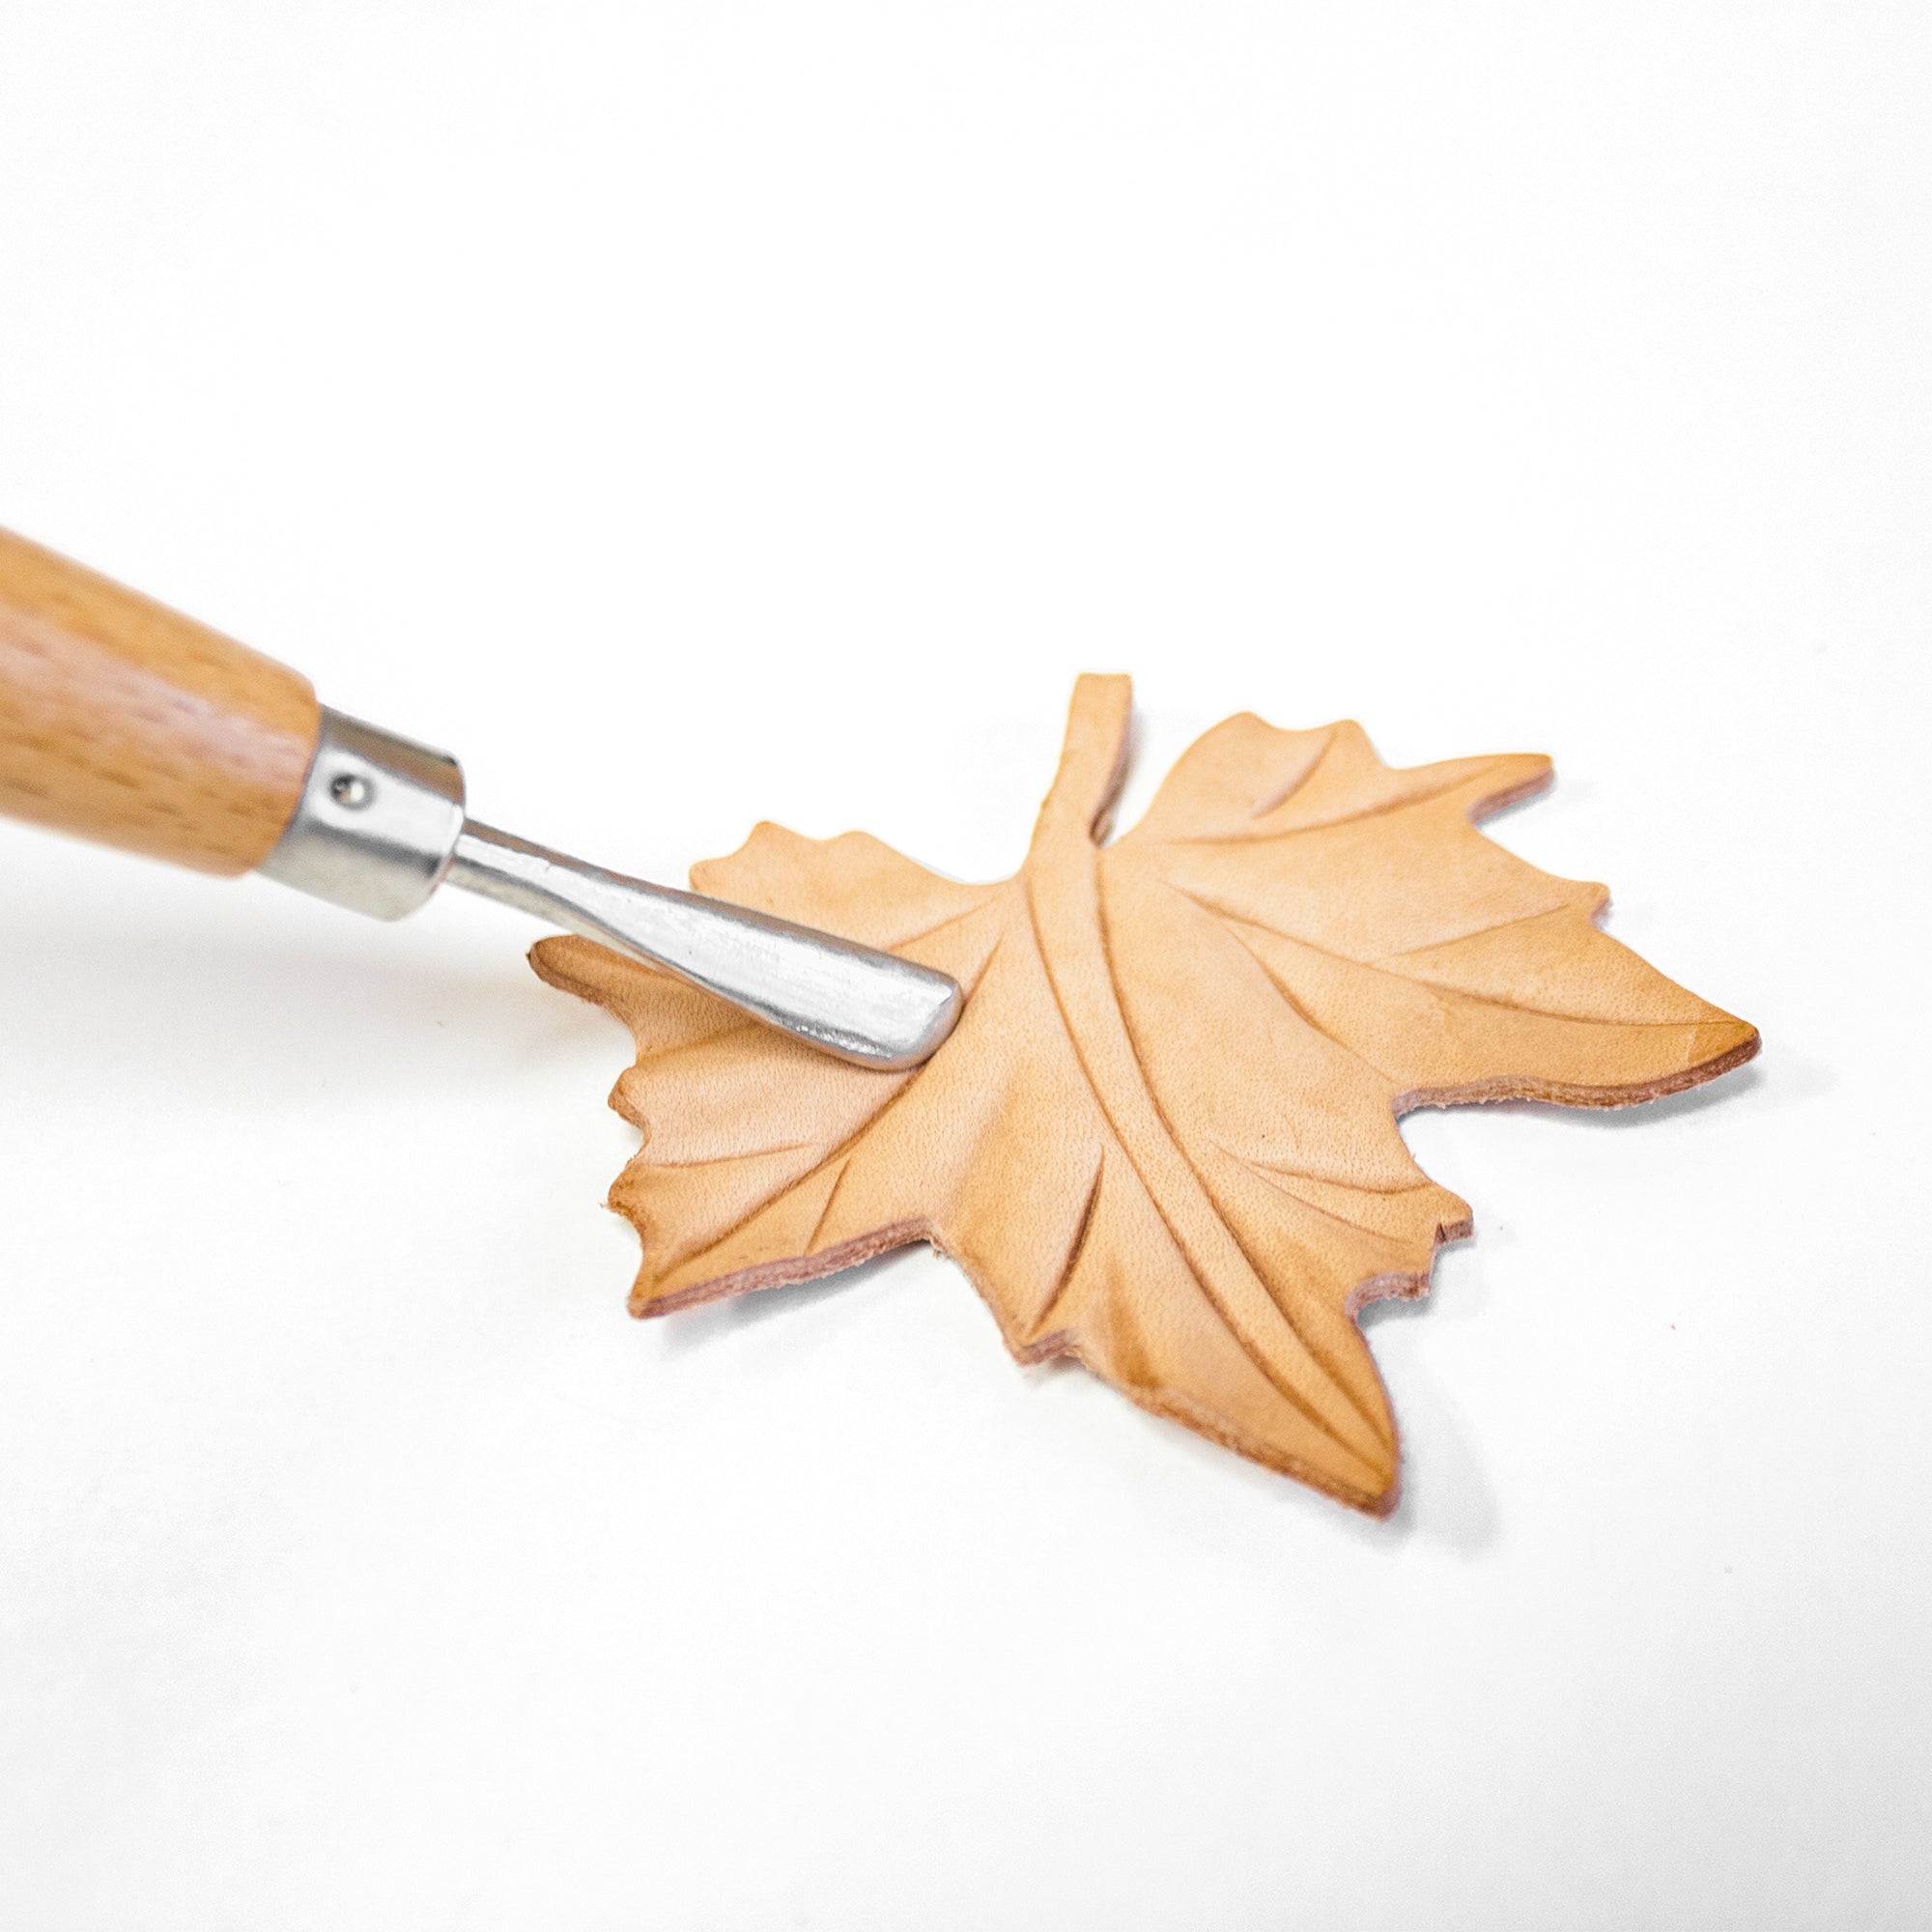
Skive the Edges: Use a skiving tool to thin down seam allowances and reduce bulk in areas where leather overlaps.

Sewing Tips for Leather Success
Once your leather is prepped, here are some sewing techniques that can help your project go smoothly:
-
Stitch Length: Set your machine to a longer stitch length (3–4mm). Short stitches can act like a perforation line and weaken the leather.
-
Tension: Slightly lower your thread tension to avoid skipped stitches and thread breakage.
-
Avoid Backstitching: Instead of backstitching (which can weaken the leather), tie your threads off securely by hand at the beginning and end of your seams.
-
Test First: Always do a test run on a scrap piece of leather to check your needle, tension, and stitch length.
-
Take It Slow: Sewing leather requires control. Go slowly and steady to maintain precision and reduce mistakes.
-
Don’t Stretch It: Never pull or stretch the leather as you sew—it can permanently distort the material.
-
Watch Your Seams: Avoid creating bulky seams by trimming or skiving the edges when needed.
-
Zipper Tips: When adding zippers, use a zipper foot to sew close to the teeth for a clean, professional finish.
-
Secure Straps: For straps, reinforce your stitching using a box and X pattern for added durability.

Sewing leather might take a bit of extra care, but with the right approach, it opens the door to beautifully durable and stylish creations. Keep these tips in your toolkit, enjoy the process, and most importantly—have fun creating!
Make sure to check out Next week's post about how to use these tips to sew a universal holster.