

Leather Poinsettia Ornament, Fob, Decor Tutorial
Templates

Creating your own leather poinsettia ornaments is a wonderful way to add a handcrafted touch to your holiday décor. These ornaments can be used on your tree, as tabletop accents, or even scaled down for wearable accessories like brooches or earrings. With simple tools and a bit of creativity, this project is suitable for any skill level.

Materials Needed
- Poinsettia ornament templates
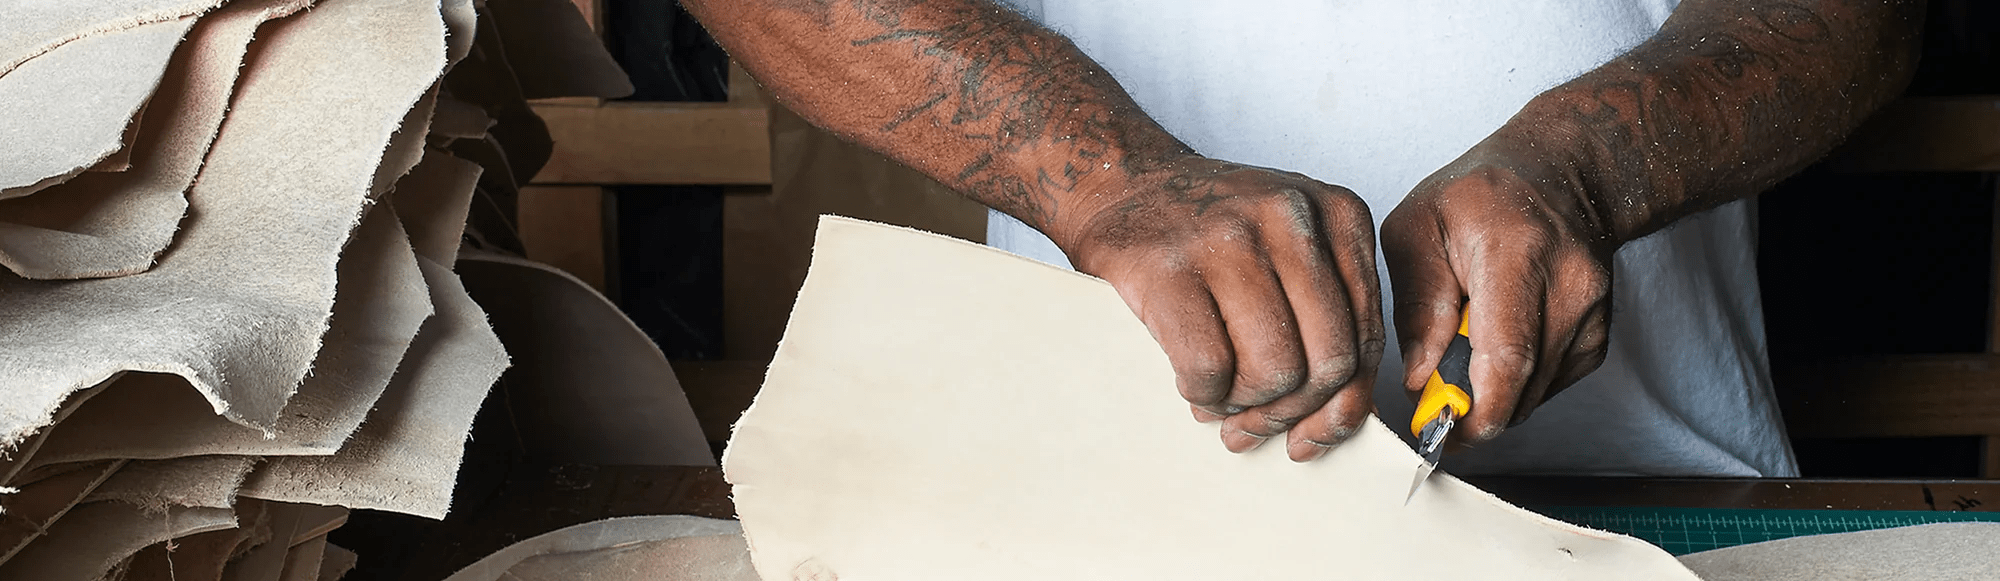
- Lightweight veg-tan cowhide or goatskin leather (1–3 oz)
- Scissors or cutting blade
- T1101-00 stylus tool
- Misting spray bottle
- T3220 leather hole punch
- F2601 or F2604 acrylic paint (red and dark green)
- Paint brushes
- 6" leather lace or cord
- Beads or embellishments for the flower center
- Glue (Fiebings Leather Cement, hot glue, etc.)
- Needle and sturdy thread (or thin wire)
Step 1: Prepare the Leather Pieces
Cut out the three pattern pieces. Use a hole punch for the teardrop shapes in piece A. The dots in the centers of pieces A and B mark optional stitching points for embellishments.

Note: The holes in piece C are for the hanging loop; the dots in pieces A and B mark optional stitching points.
Step 2: Dampen the Leather
Lightly mist the grain side of each piece. Let them dry for a few minutes until the color begins to lighten.
Step 3: Trace the Design
Using your stylus, trace the veins and leaf lines. You can freehand or trace through the pattern.

Step 4: Rehydrate the Leather
Spray both sides lightly and allow the pieces to dry again until the grain side begins to lighten. This prepares the leather for shaping.
Note: Avoid soaking the leather. Depending on moisture, drying may take 20 minutes to over an hour.
Step 5: Test and Mold
Pinch the edges to check readiness:
- If it molds easily and holds shape — ready
- If it won’t mold — too dry
- If it molds but won’t keep shape — too wet
Step 6: Fold the Petals
Fold each petal along the center vein with the grain side inside, creating a book-like fold.

Step 7: Shape the Edges
Roll the edges under with your thumbs. Soft ripples add realistic texture.

Step 8: Curve the Tips
Gently curve each petal tip backward and flatten the outer edges slightly. Let all pieces dry completely, stacked on a 3" jar or cup to hold their shape.


Step 9: Paint the Pieces
Paint pieces A and B with diluted red acrylic paint. Paint piece C with diluted dark green acrylic. Use multiple thin coats, allowing each to dry fully.
Step 10: Add the Hanging Loop
Thread leather lace or cord through the holes in piece C and tie at the back.
Step 11: Assemble and Embellish
Glue the pieces together, offsetting petals for a layered look. Add beads, rhinestones, bells, or other embellishments to the center.
If stitching instead of gluing, use a needle or awl to pierce the center, sew embellishments securely, then attach the flower to piece C.