DIY Leather Gun Holster

By Ann Butler Designs
Looking for a stylish and durable way to carry your firearm? This handcrafted leather gun holster blends traditional craftsmanship with practical function—and it’s customizable to fit your needs. With just a few tools and some quality materials, you’ll create a holster that’s both rugged and refined.
✂️ Materials
-
Realeather Trim Piece, 8 ½” x 11”, Chocolate
-
Realeather Rivets, Silver
-
Heavy-Duty Interfacing, 8” x 8”
-
Batting or Felt, 8” x 8”
-
Strapping, 2” x 2”
-
Cardstock
🛠 Tools
-
Realeather Rivet Setter
-
Hammer
-
Hole Punch
-
Sewing Machine
-
Leather or Heavy-Duty Needle
-
Scissors
-
Binder Clips
-
Ruler
-
Pencil
Step-by-Step Instructions
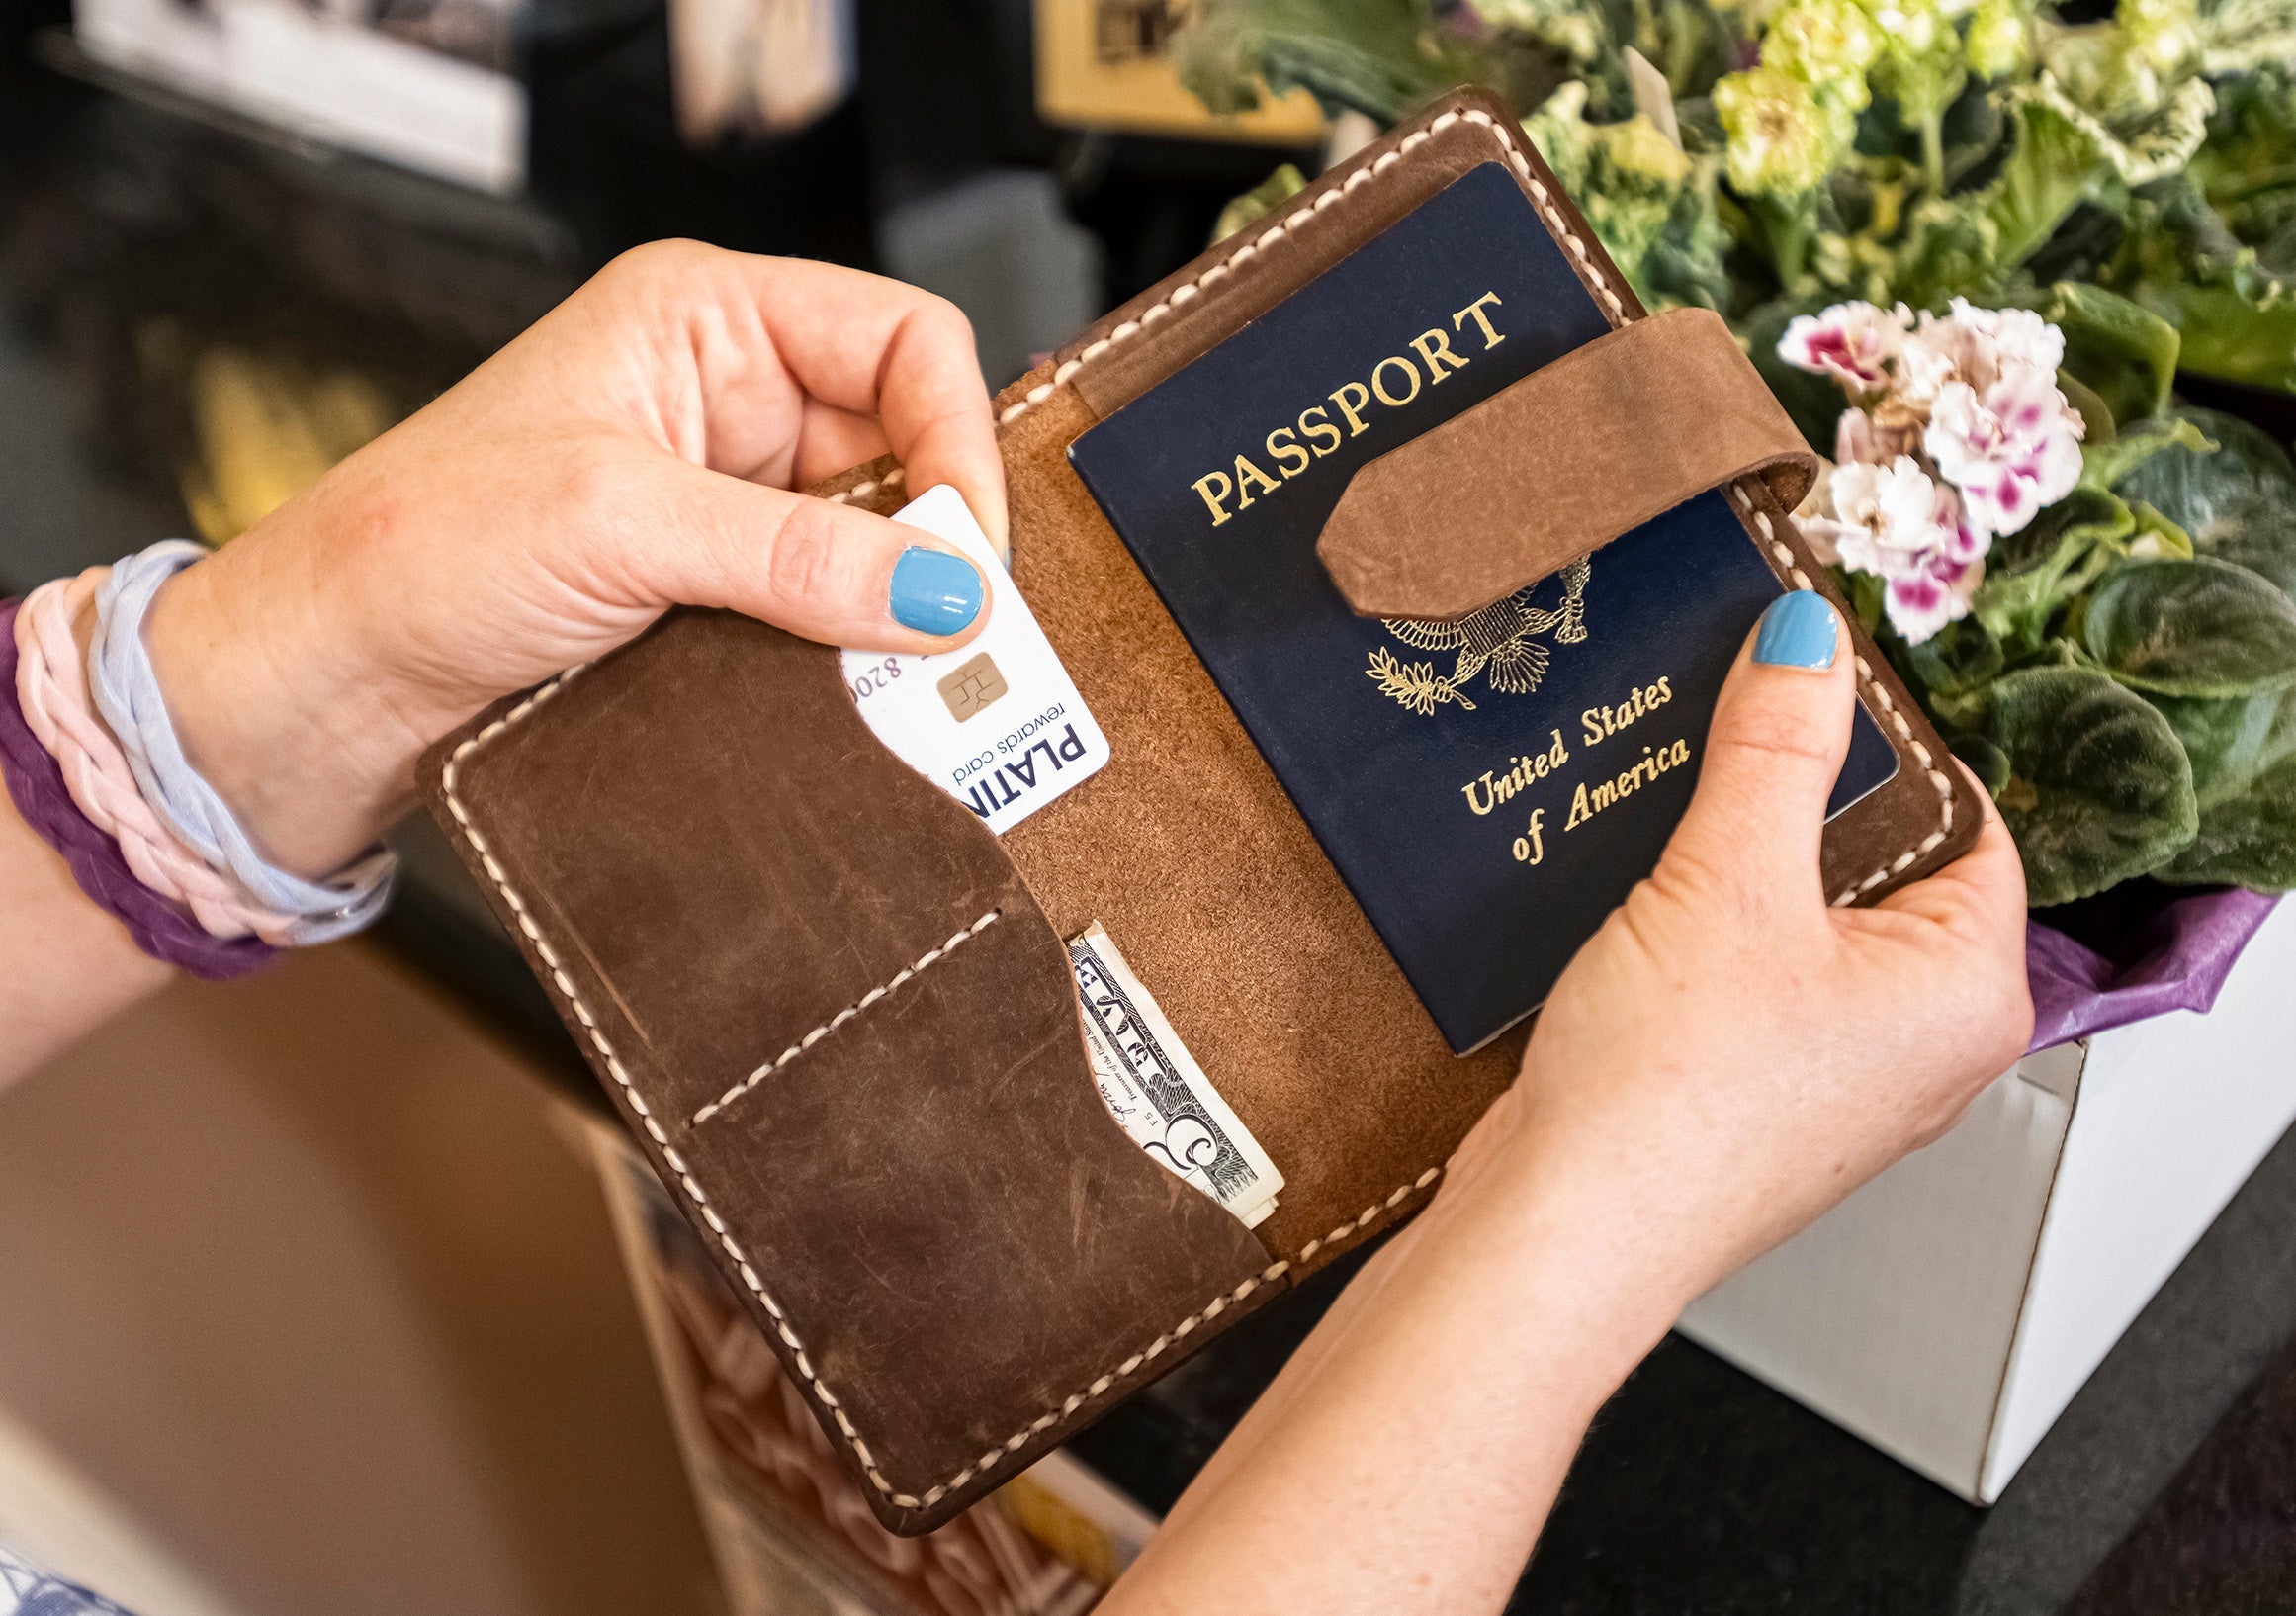
1. Gather Your Supplies
Before you begin, make sure everything you need is on hand. [Photo 1]

2. Create Your Pattern
-
On cardstock, draw a 5 ½” horizontal line.
-
Center a second line 4” wide, placed 3 ½” down from the first.
-
Connect the lines into a tapered rectangle, soften the corners, and cut it out. This is your main holster pattern.
-
Use it to cut two leather pieces (these are your outer layers).
-
For the liner, make a second pattern: top line 4 ½”, bottom line 3”.
-
Cut two each from leather, batting, and interfacing using this liner pattern. [Photo 2]

3. Assemble & Quilt the Liner
-
Layer in this order: leather (wrong side up), interfacing, batting.
-
Clip them together and, starting in the center, stitch vertically from top to bottom every ½”.
-
Repeat for the second liner piece. This adds structure and durability. [Photo 3]

4. Make and Attach the Clip Tab
-
Cut two leather rectangles: 2 ¼” x 2 ¼” and 2 ¼” x 2 ¾”.
-
Place the strapping on the wrong side of the square piece and stitch two adjacent sides. [Photo 4]

-
Center this stitched square horizontally on the longer rectangle and clip in place.
-
Stitch along the vertical edges only. [Photo 5]

5. Attach Clip Tab to Holster Body
-
Clip this tab assembly to the right side of one outer holster piece.
-
Stitch along the top and bottom edges, leaving the sides open. [Photo 6]

6. Assemble the Holster
-
Clip each quilted liner section to the wrong side of each outer leather piece. [Photo 7]

-
Stitch along the top and bottom edges only. [Photo 8]

-
Place both pieces together with the quilted sides facing inward.
-
Clip in place and stitch the side edges, forming the holster pocket. [Photo 9]

7. Add Rivets for Secure Fit
-
Insert your firearm to test the fit.
-
Mark rivet placement—typically ¾” from the top and side edges.
-
Punch holes through all layers and use your rivet setter and hammer to secure them.
8. Attach the Clip
-
Lastly, fasten the clip to the back of the holster. [Photo 10]

💡 Designer Tips
-
Ensure a snug fit, but not too tight—your gun should draw easily.
-
Want a decorative touch? Instead of sewing the side seams, try using rivets along the entire edge.
With your new handcrafted leather holster, you’ve created something both functional and personal. Whether you're carrying or crafting for someone else, this is one accessory that truly stands the test of time.